Blog
Transforming Your Living Space.
A Guide to Interior Painting.
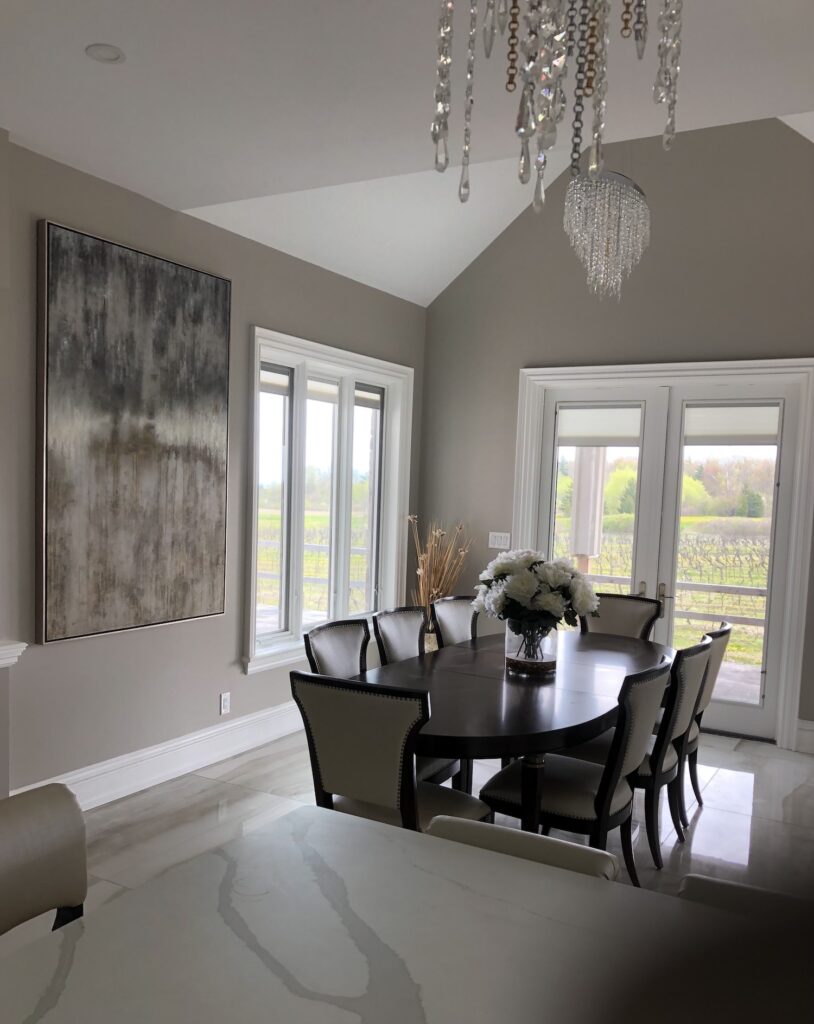
Today, homeowners are constantly seeking ways to improve and add value to their living spaces. One highly effective option is interior painting. A fresh coat of paint can bring new life into any room, transforming it and giving it a stylish and vibrant appearance.
1.Always Plan Ahead.
The first step in any successful construction project is careful planning. Begin by deciding which rooms of your home need a fresh coat of paint. Once you’ve identified these spaces, consider the colours and shades you would like to use. Keep in mind that light and neutral colours can make a room appear more spacious and bold and vibrant colours create an eye-catching visual impact.
2.Prep Work.
One of the most important steps in painting is through preparation. We take the time to clean and prep the walls before applying paint. This includes filling any holes, sanding uneven surfaces, and priming. Proper preparation is the key to achieving a smooth and long-lasting paint job.
3.Paints and Materials.
As a professional painting company, we prioritize quality and durability. We use only high-quality paints and materials from reputable brands. We offer colour consultation services to assist you in choosing the perfect colour scheme for your project. We provide expert advice and suggest suitable colour combinations that will enhance the aesthetics of your space.
The Art of Deck Staining.
Transforming Your Outdoor Space.
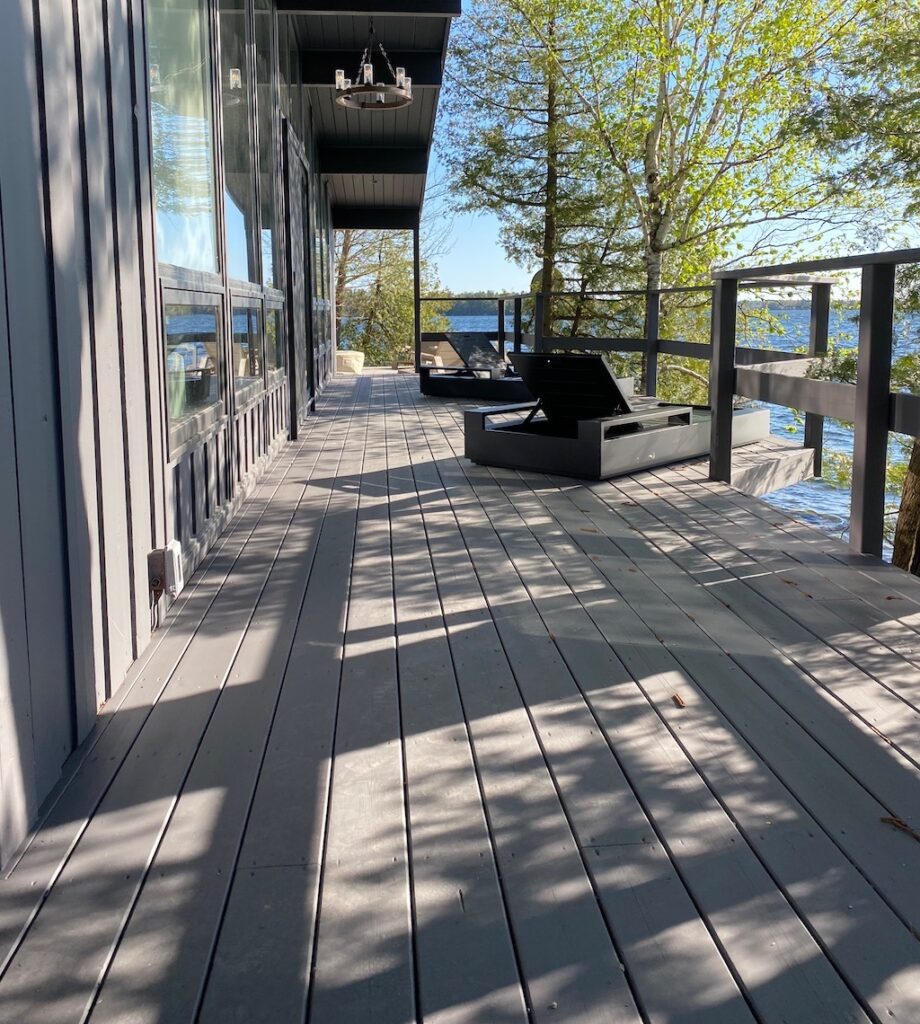
As the warm weather returns, there’s nothing quite like spending quality time on your deck. However, exposure to the elements such as sunlight, moisture, and changing weather conditions can take a toll on its appearance. Deck staining is a fantastic and cost-efficient way to revitalize and protect your deck while enhancing its overall beauty and adding value to your property.
1.Choosing the Right Stain.
The first step in deck staining is selecting the right type of stain. There are two primary options: transparent and solid-color stain. Transparent stains enhance the natural wood grain, while solid-color stains provide a consistent, opaque finish. You need to consider factors such as desired color, durability, UV protection, and maintenance requirements.
2.Preparing Your Deck.
Proper preparation is the key to a successful staining project. We start by throughly cleaning your deck to remove dirt, debris, and any loose stain or paint with power wash. Once clean, the deck needs to dry completely before moving on to the next step.
3.Reparing and Sanding.
We inspect your deck for any damages, nails, or screws. Next, we sand a deck to create a smooth and even surface for optimal stain absorption.
4.Applying the Stain.
We begging by applying the stain to an inconspicuous area to test the color and absorption. Then, we apply the stain evenly, following the wood grain.
Once your deck is stained, regular maintenance is key to prolonging its lifespan. Additionally, consider applying a new coat of stain every three to four years, depending on your deck’s exposure to the elements.
We create a stunning outdoor space for you to enjoy for years to come.
Elevate Your Home’s Style.
Stair Staining.
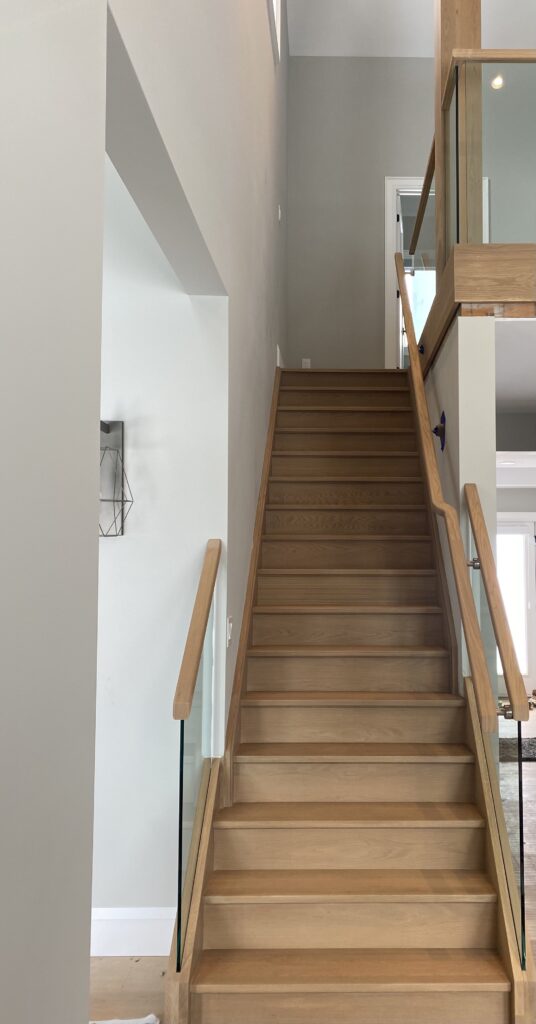
Stairs are not just a functional element in your home; they are also an eye-catching focal point. One way to enhance their beauty and add value to your space is by staining them. Stair staining gives an opportunity to bring out the natural beauty of the wood, while also protecting it from wear and tear. We will take you through a simple step-by-step guide to achieve stunningly stained stairs that will elevate the style of your living space.
1.Evaluate the Condition of Your Stairs.
Before starting the staining process, we always examine the condition of your stairs.It’s important that your stairs are stable, free of cracks and splinters, and that the wood is in good condition. If any repairs are required, we address those before proceeding with staining.
2.Prep the stairs.
Before staining, we clean the stairs throughly to remove any dust, dirt, or previous finishes.If there are existing paint or varnish layers, we sand them down to allow the stain to penetrate the wood better.
3.Applying the Wood Sealer or Primer.
Applying a wood sealer or primer is essential. It enhances the stain’s penetrative ability and ensures even absorption.
4.Applying the Stain.
Using a brush or rug, we evenly apply the stain to the stairs. Working in small sections, going with the grain of the wood, and wiping off any excess stain to achieve the desired colour intensity.Depending on the type of stain and desired colour, we may need to apply multiple coats.
5.Protect Your Stairs.
Once the stain has completely dried, it’s time to protect your stairs with polyurethane finish. This finish adds a protective layer, increases durability, and gives your stairs a beautiful look.
Transform the style of your home while adding value and character.